





1. Material reception
- Check that the slabs have not suffered any damage during transport.
- Verify the piece against the manufacturer’s technical sheet (dimensions, spacers, and dimensional tolerances).
2. Setting out
- Depending on the desired pattern (stretcher bond, running bond, or others), and the logistics within the construction site (storage area, access points, etc.), it is essential to determine a starting point for layout and installation, as it will condition the rest of the work.
- It is necessary to start and finish the installation without having to walk over the already laid pavement to avoid staining or unnecessary damage. Good setting out can minimize the number of cuts and generally reduce execution costs.

3. Level checking and water drainage points
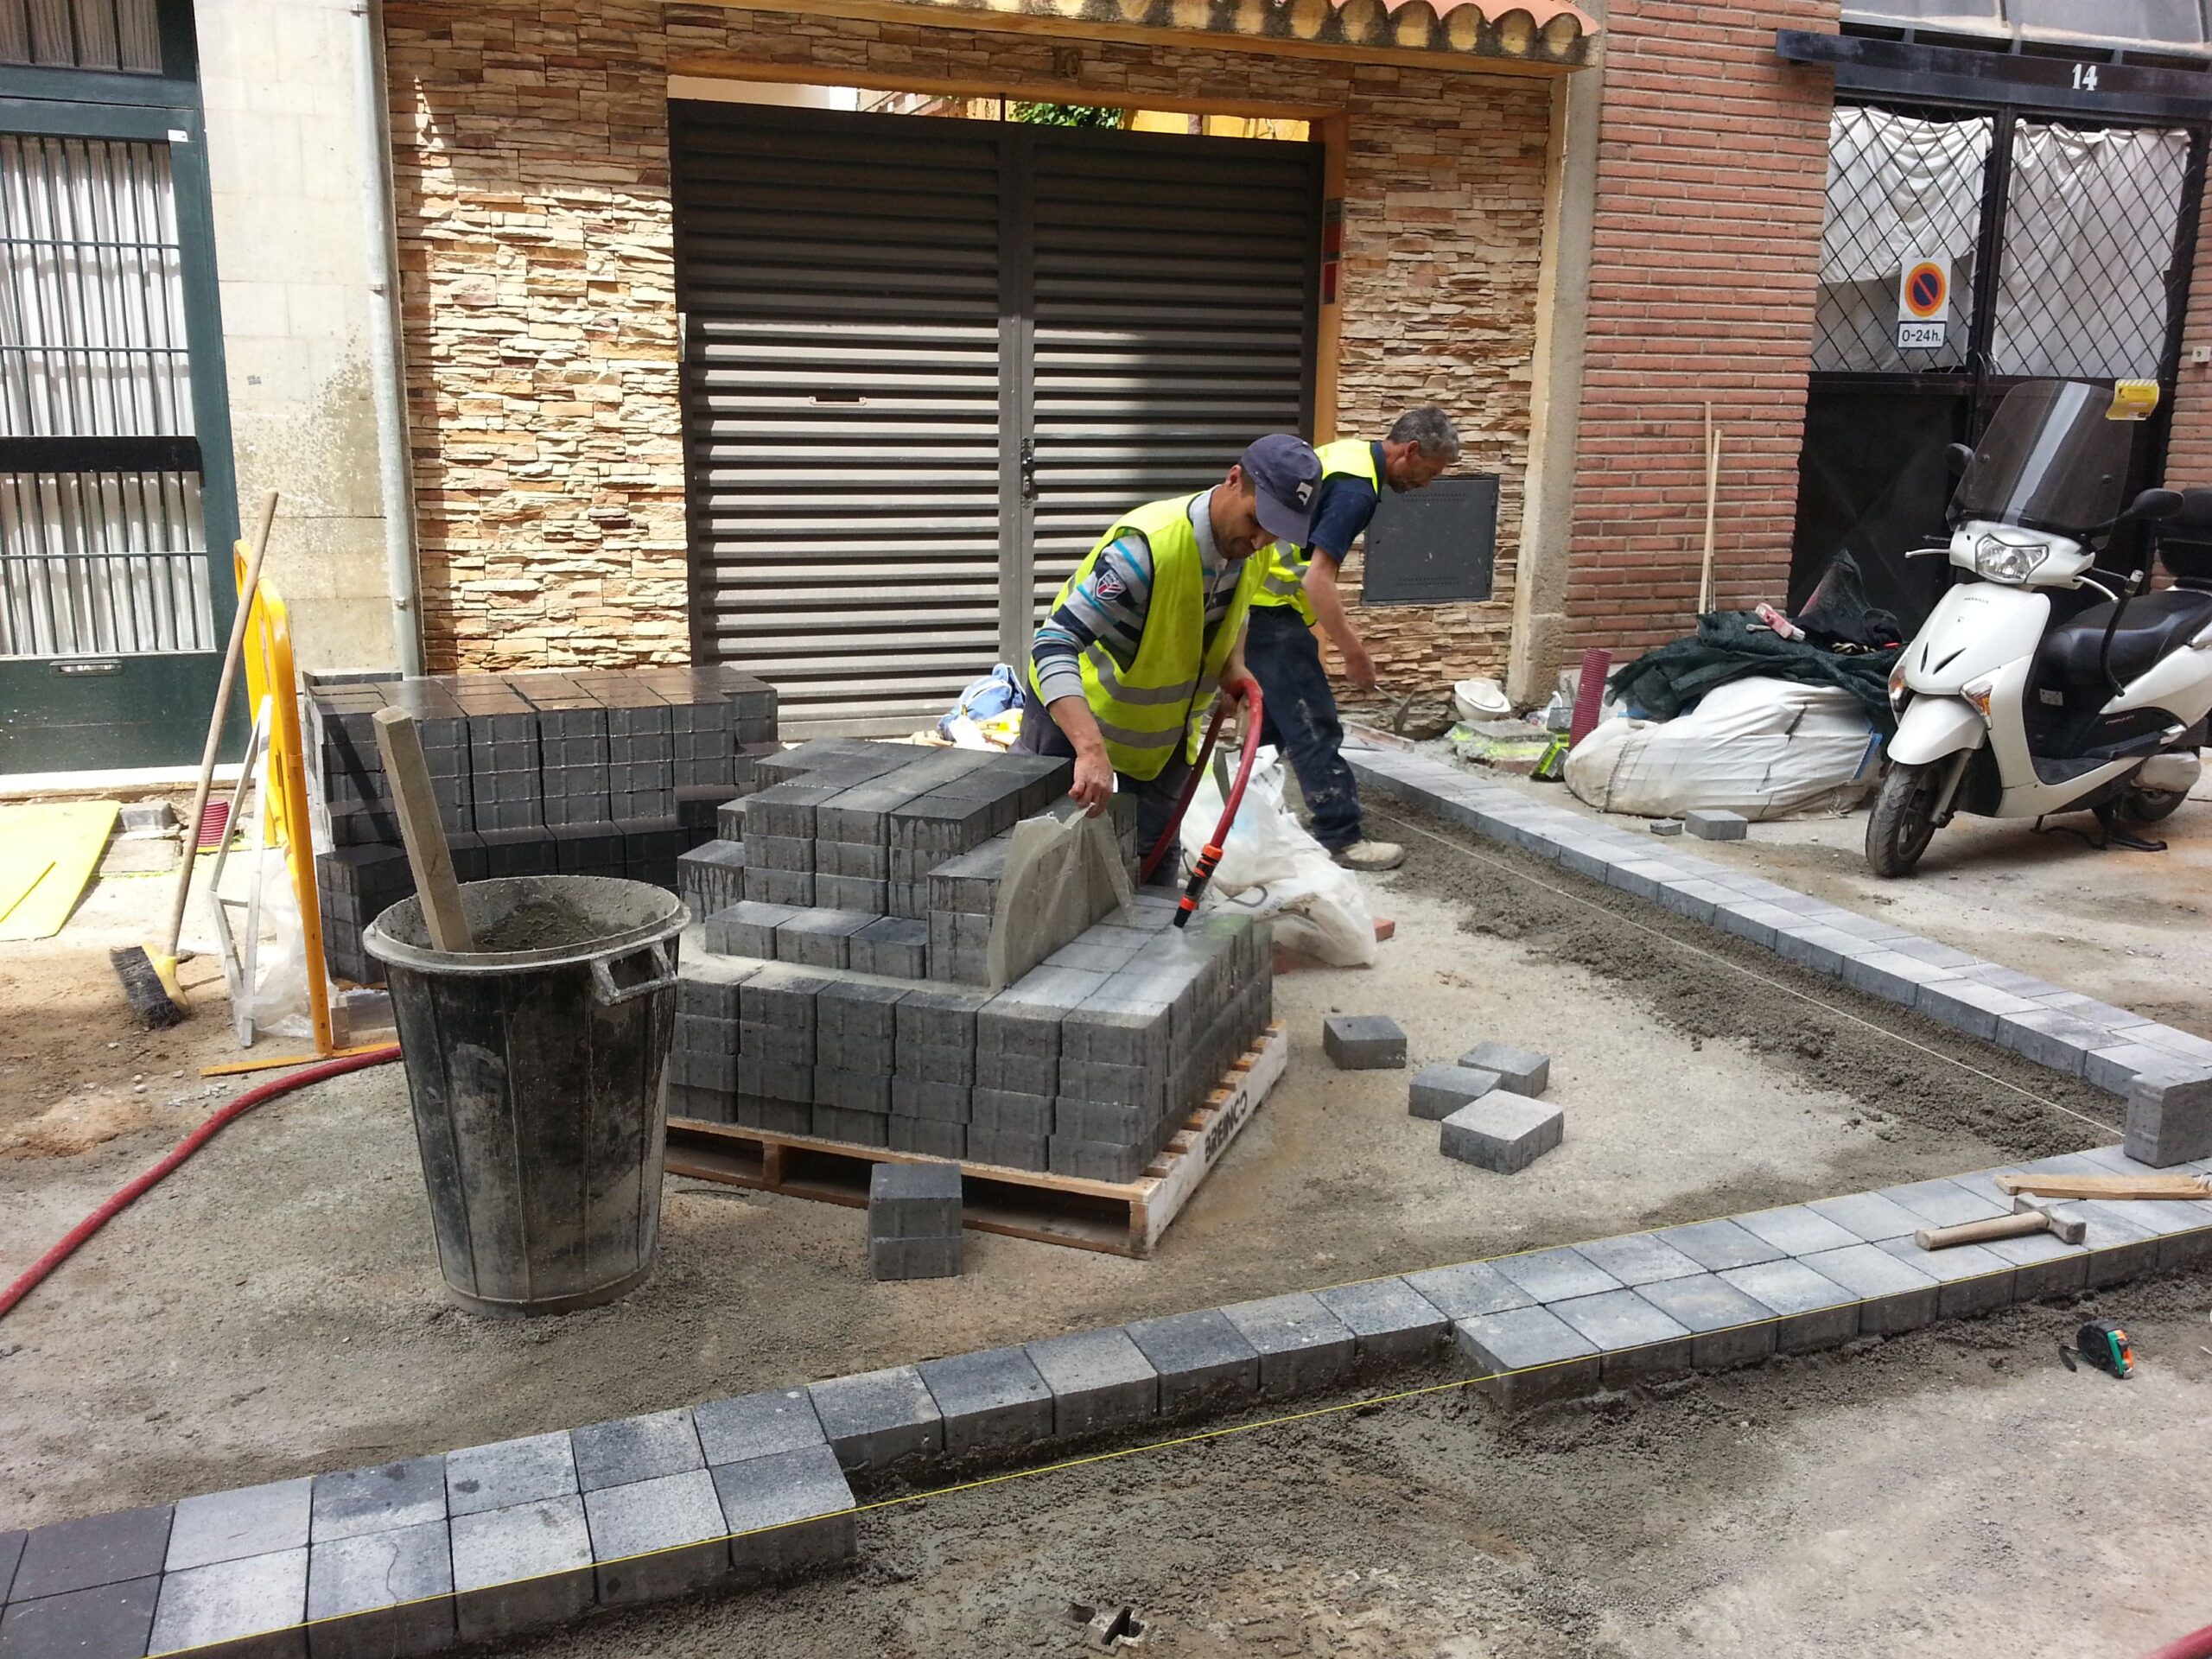
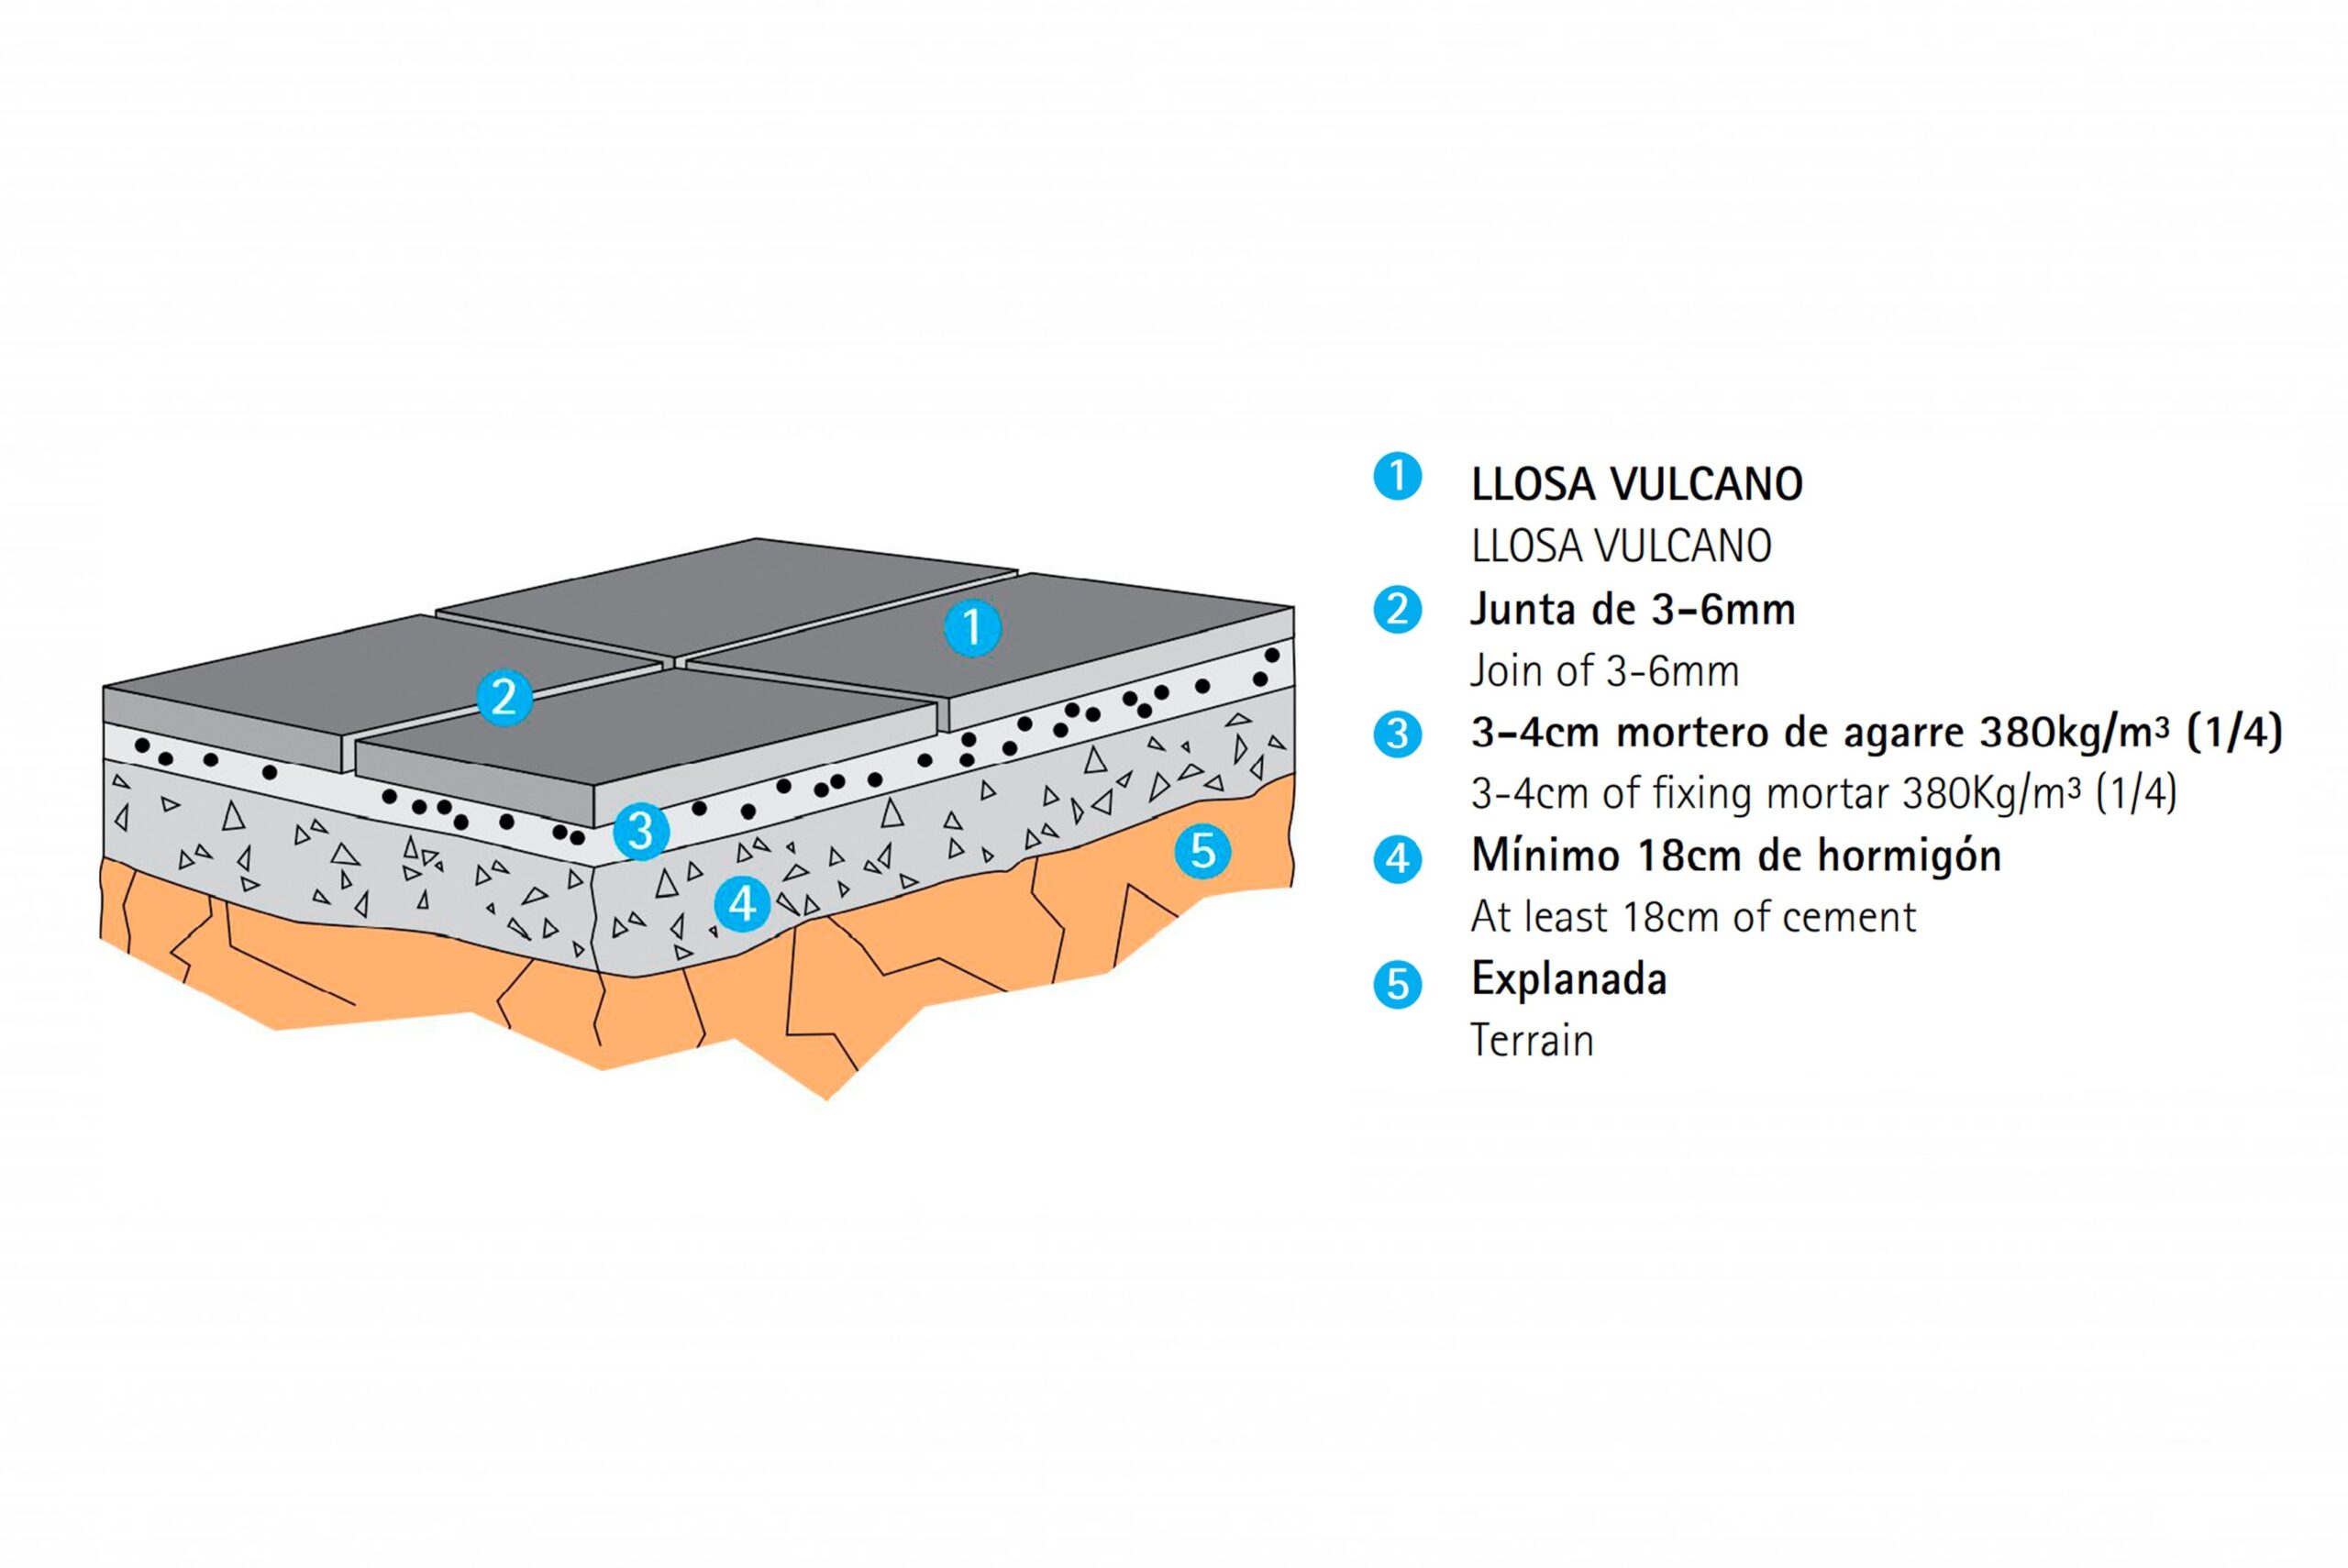
Before starting the installation, it is necessary to check all connection points at access areas, verify the flatness and slope of the base (minimum slope of 1.5%, with 2–3% recommended), and ensure that the mortar bed thickness is always uniform, between 3–4 cm. It is essential to design a proper water drainage system with adequate discharge capacity to prevent water accumulation on the surface.
4. Surface and slab preparation
To improve adhesion between the mortar and the concrete base, as well as between the slab and the bedding mortar, it is advisable to moisten both the concrete base and the slabs. This prevents the mortar from drying too quickly when in contact with a dry and hot base (for example in summer), and likewise avoids the mortar losing moisture when in contact with a completely dry slab.
Before installation, it is recommended to prepare two pallets of the same material in order to mix pieces from both pallets during installation. This helps avoid possible tonal variations between slabs.
5. Installation
For the installation of the slabs, a cement mortar with a minimum dosage of 380 kg/m³ (1/4) is used, under the current designation M-10 (compressive strength of 10 N/mm²), with a thickness of 3–4 cm. The mortar must be stored according to the manufacturer’s instructions and be in optimal condition before use.
A plastic consistency mortar must be prepared (Abrams cone 4–6). Installation can be done by tapping with a mallet or by spreading the mortar. When using the spreading method, it should be applied in small areas to avoid premature setting.
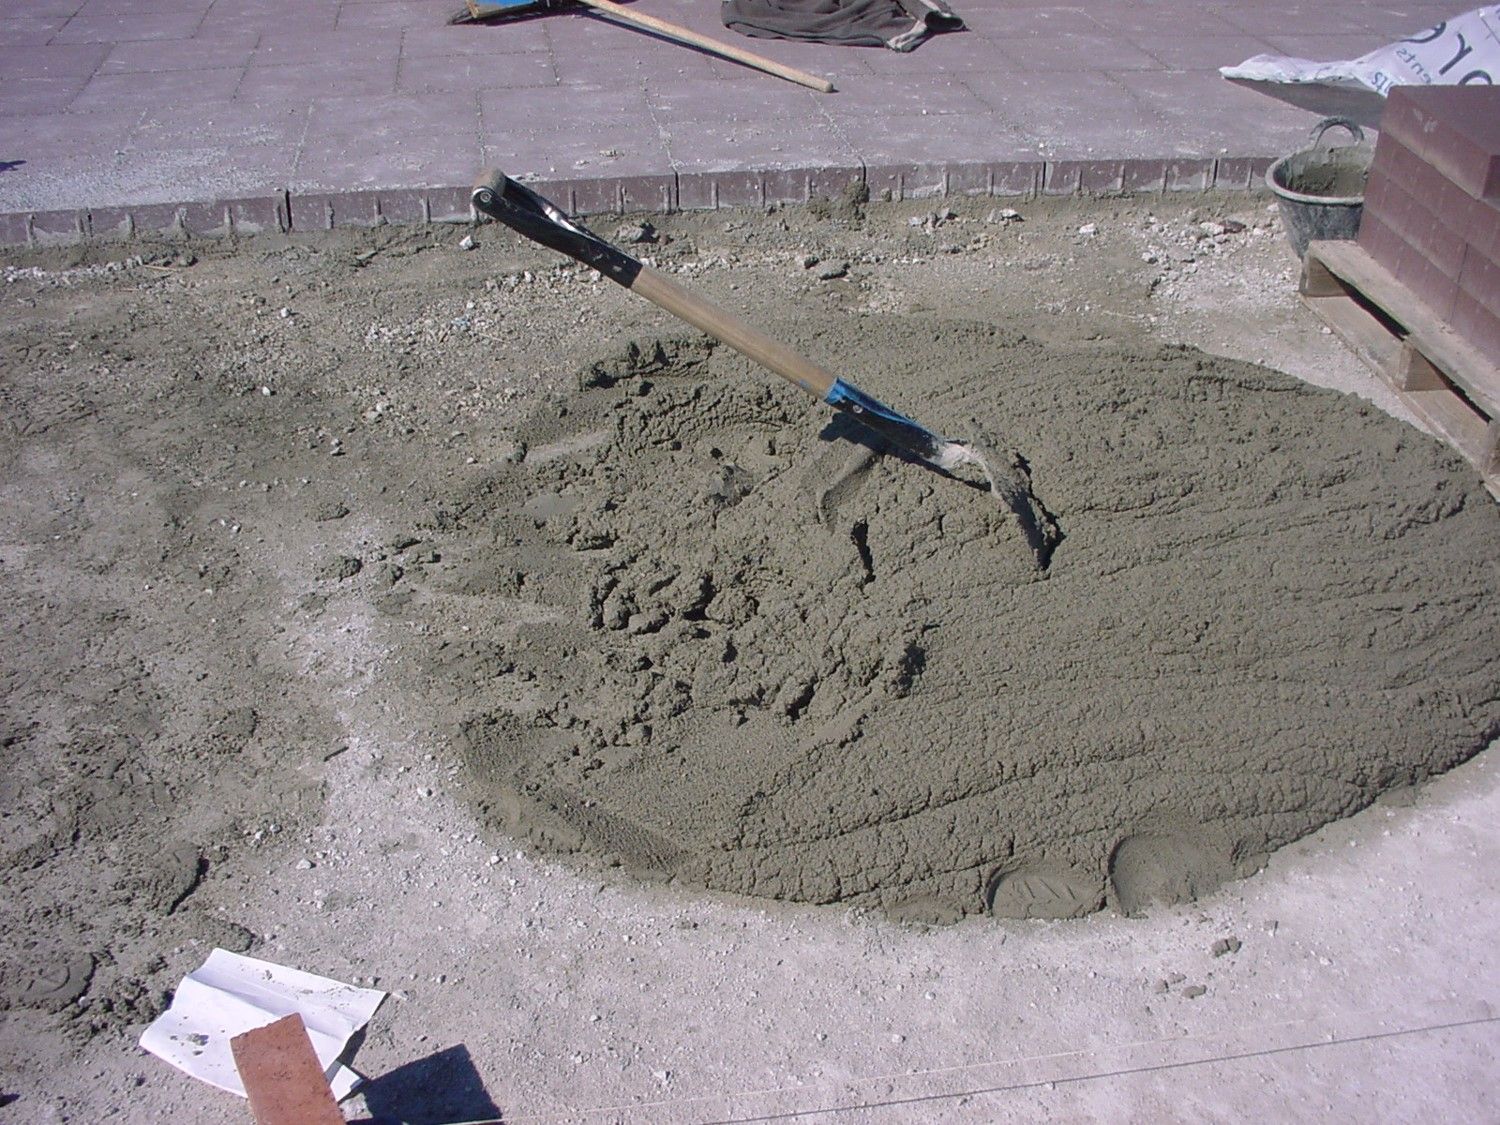
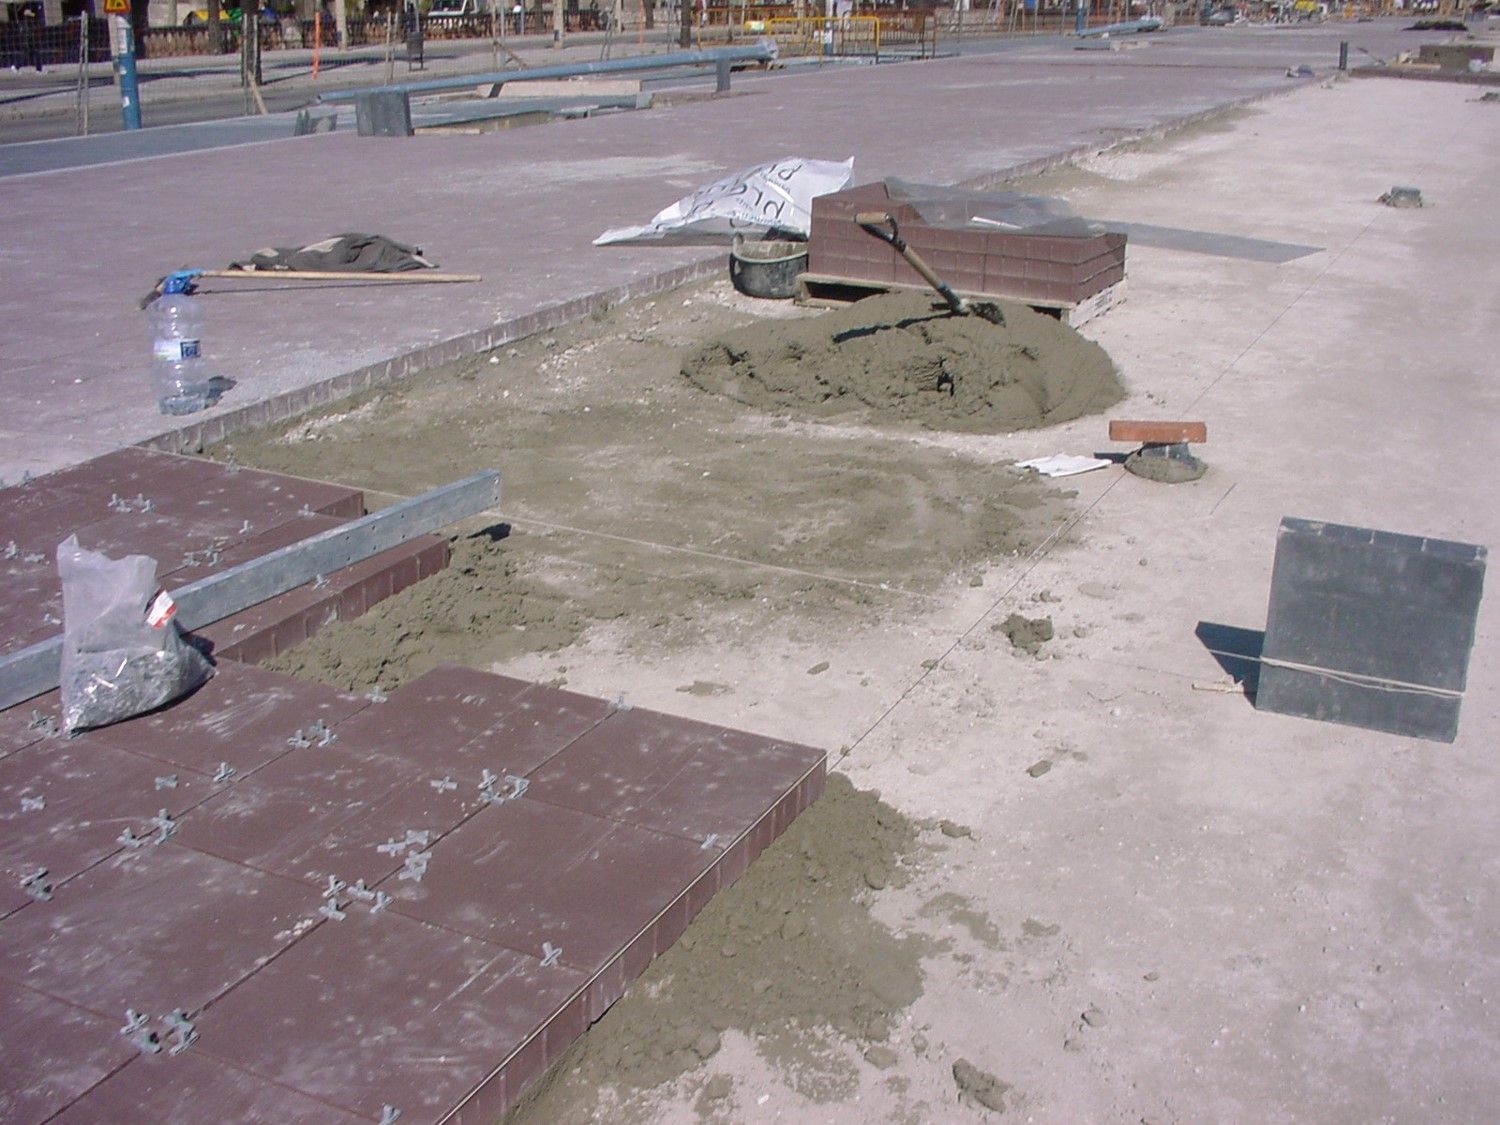
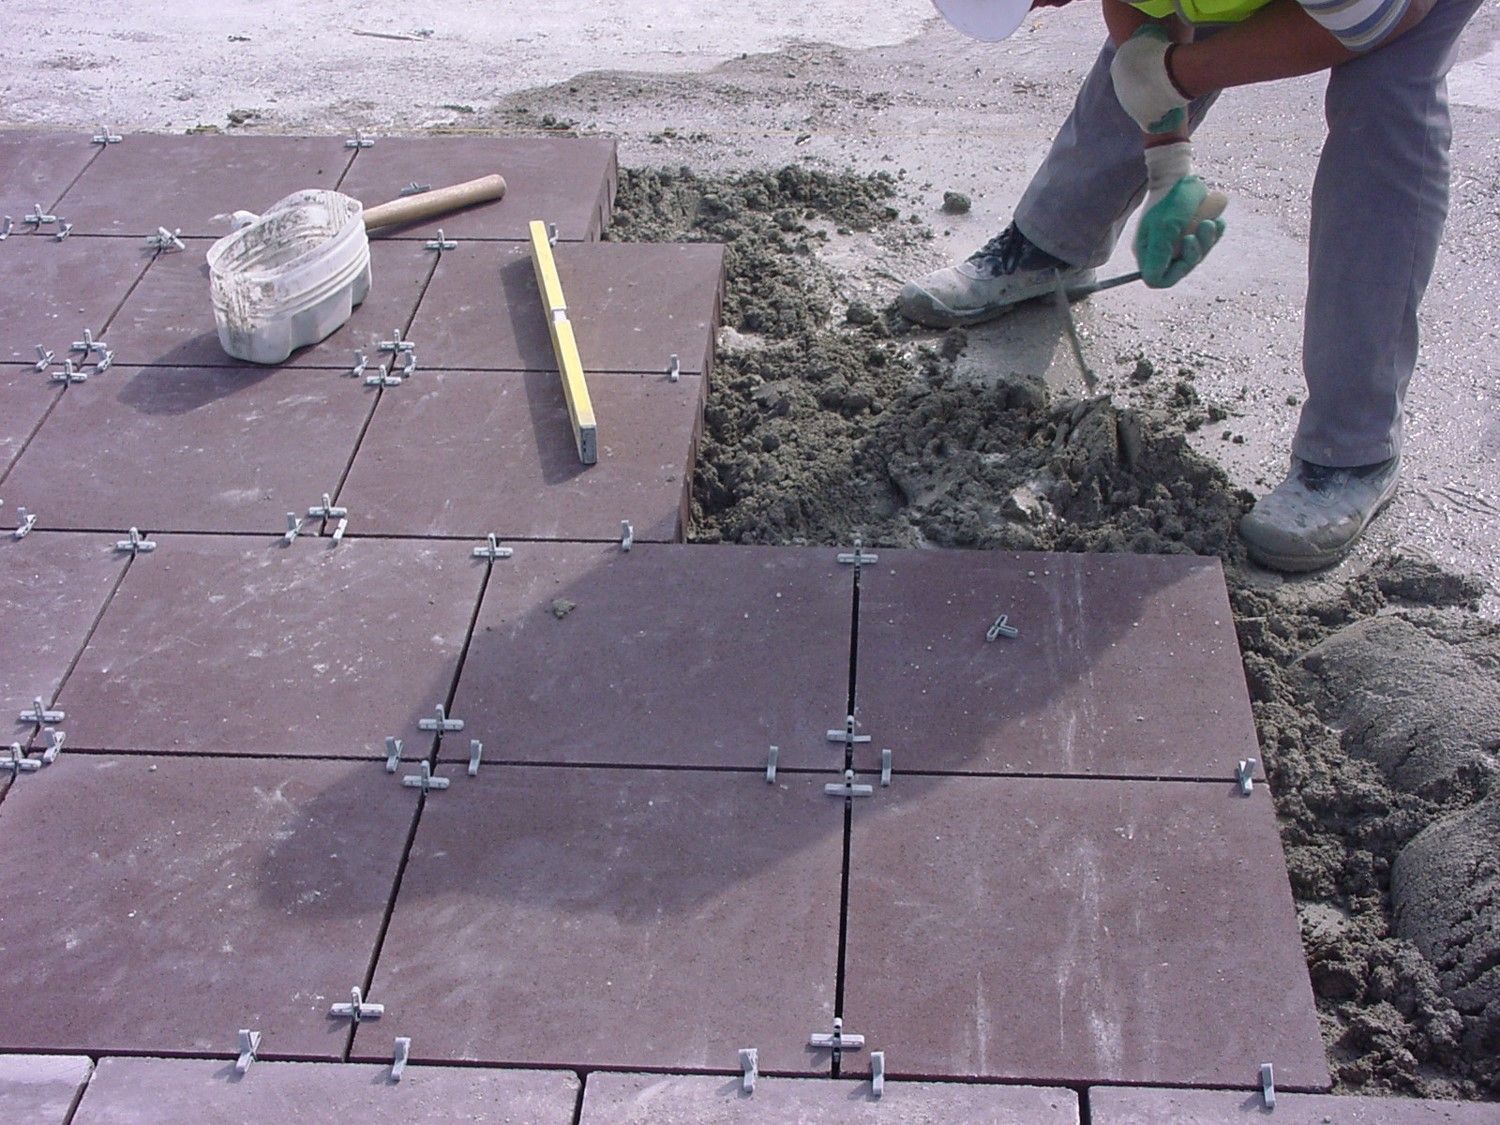
The slabs should be installed after applying a cement-water slurry on their underside to improve adhesion.
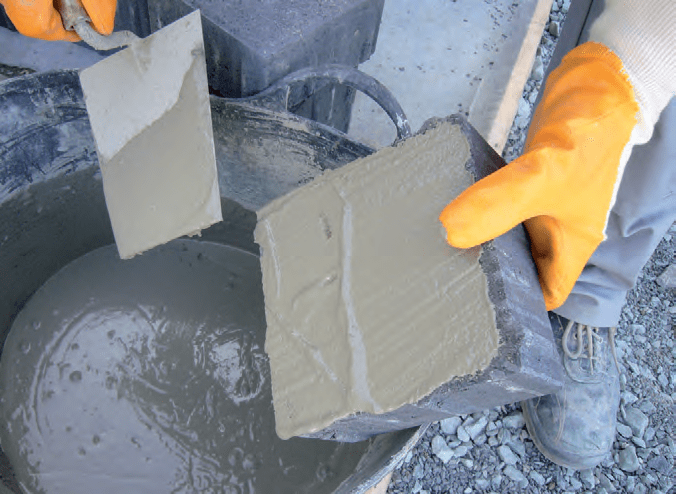
The slab must be fully supported on the mortar bed to avoid breakage under load.
6. Joint filling
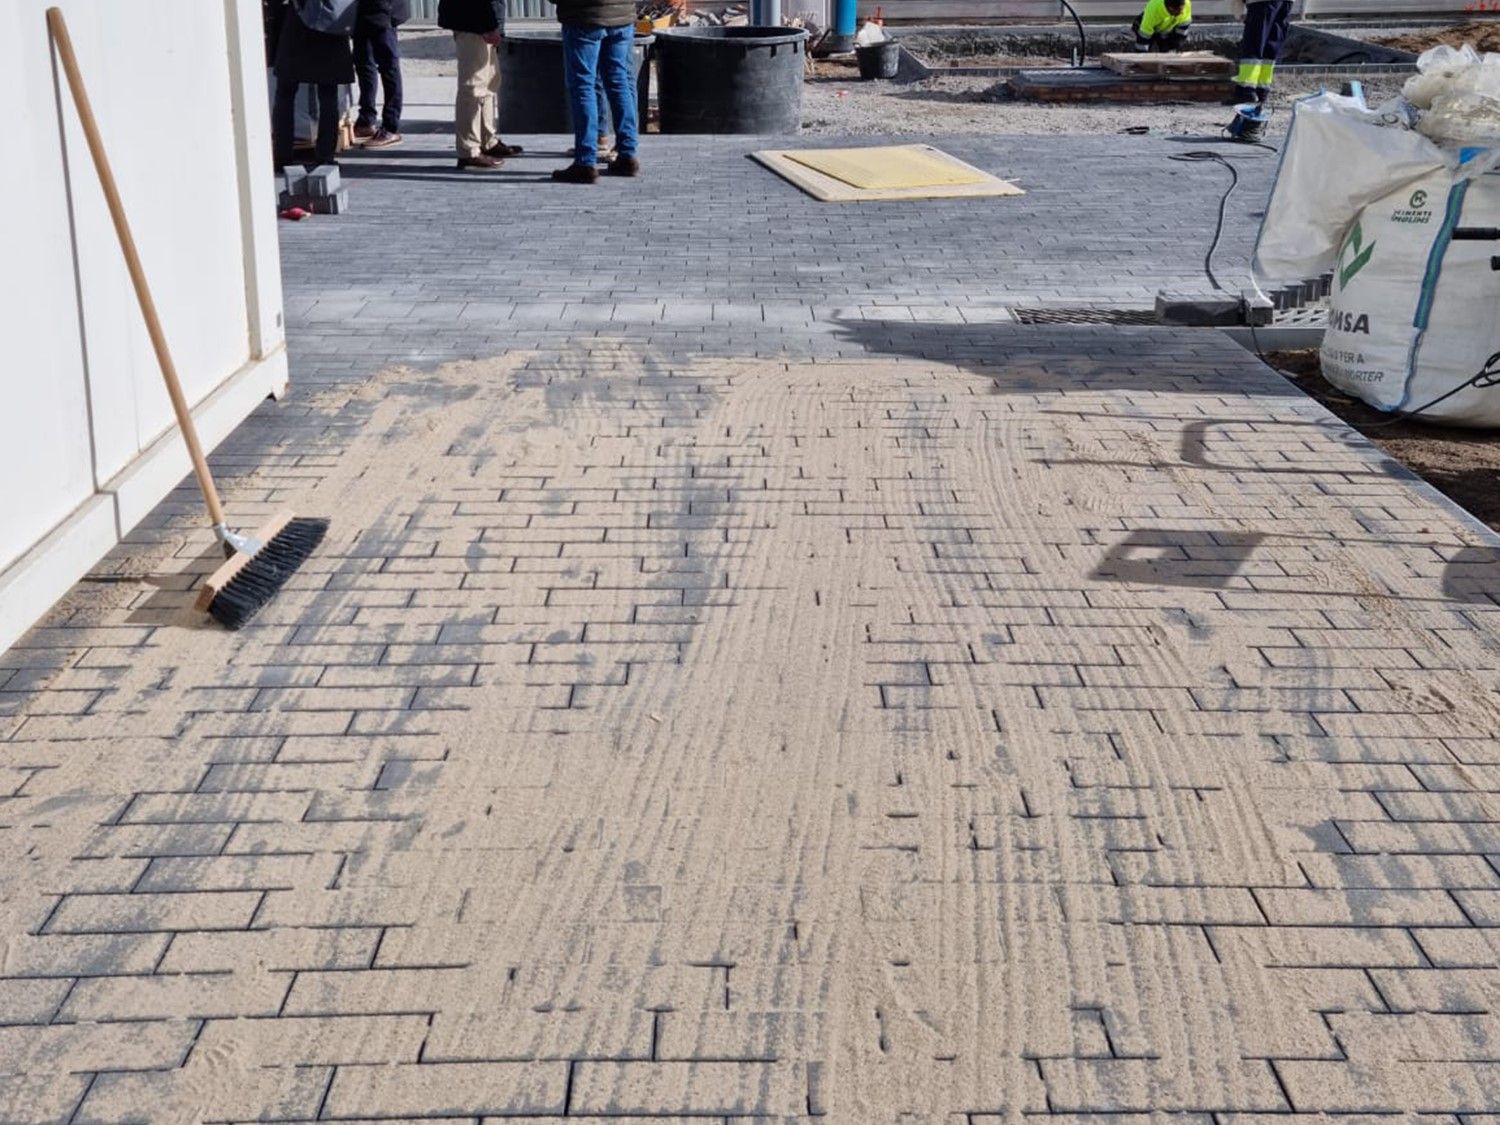
Once the slabs have been installed, the joints must be filled with washed sand, with a grain size of 0–2 mm, using repeated sweeping until the joints are completely filled. Under no circumstances should cement grout be used, as it would alter the appearance and texture. 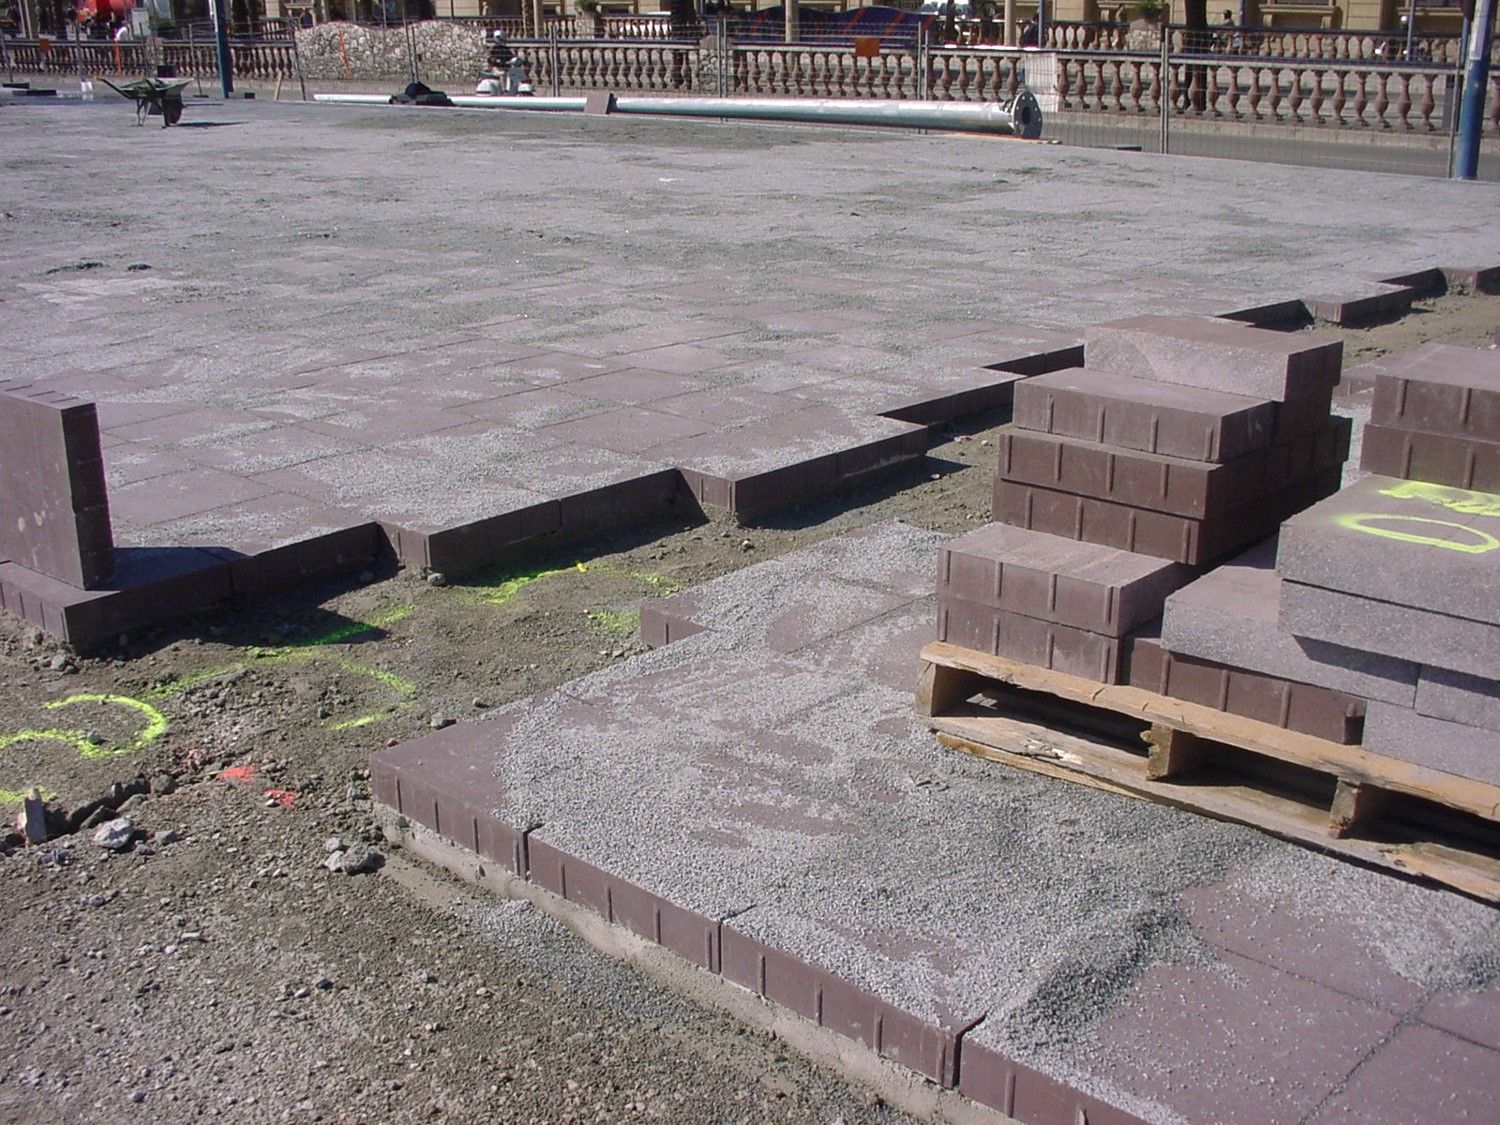
7. Putting into service
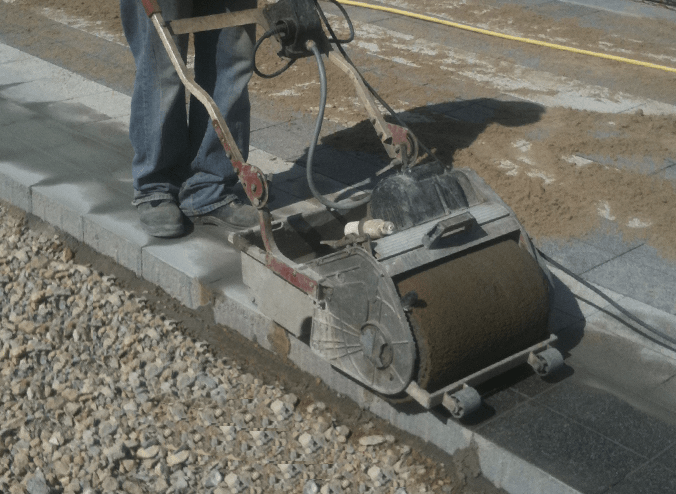
Foot traffic should be avoided for the following days, and construction vehicles should not pass over the area for three weeks after installation, allowing sufficient time for the mortar to harden. The slab layout must be designed to avoid standing water, and the base must have a 2–3% slope.
8. Maintenance
Prefabricated slabs require only surface sweeping and cleaning with low-pressure water to avoid washing out the joints. Re-filling of joints is necessary in areas where material may have been lost.
Slab installation diagram.
Contact us
🔎Do you need information about our solutions for your project? You can contact us at:
BIBLIOGRAPHY
Breinco pavements
Pavement manual
